Wrapping up the project

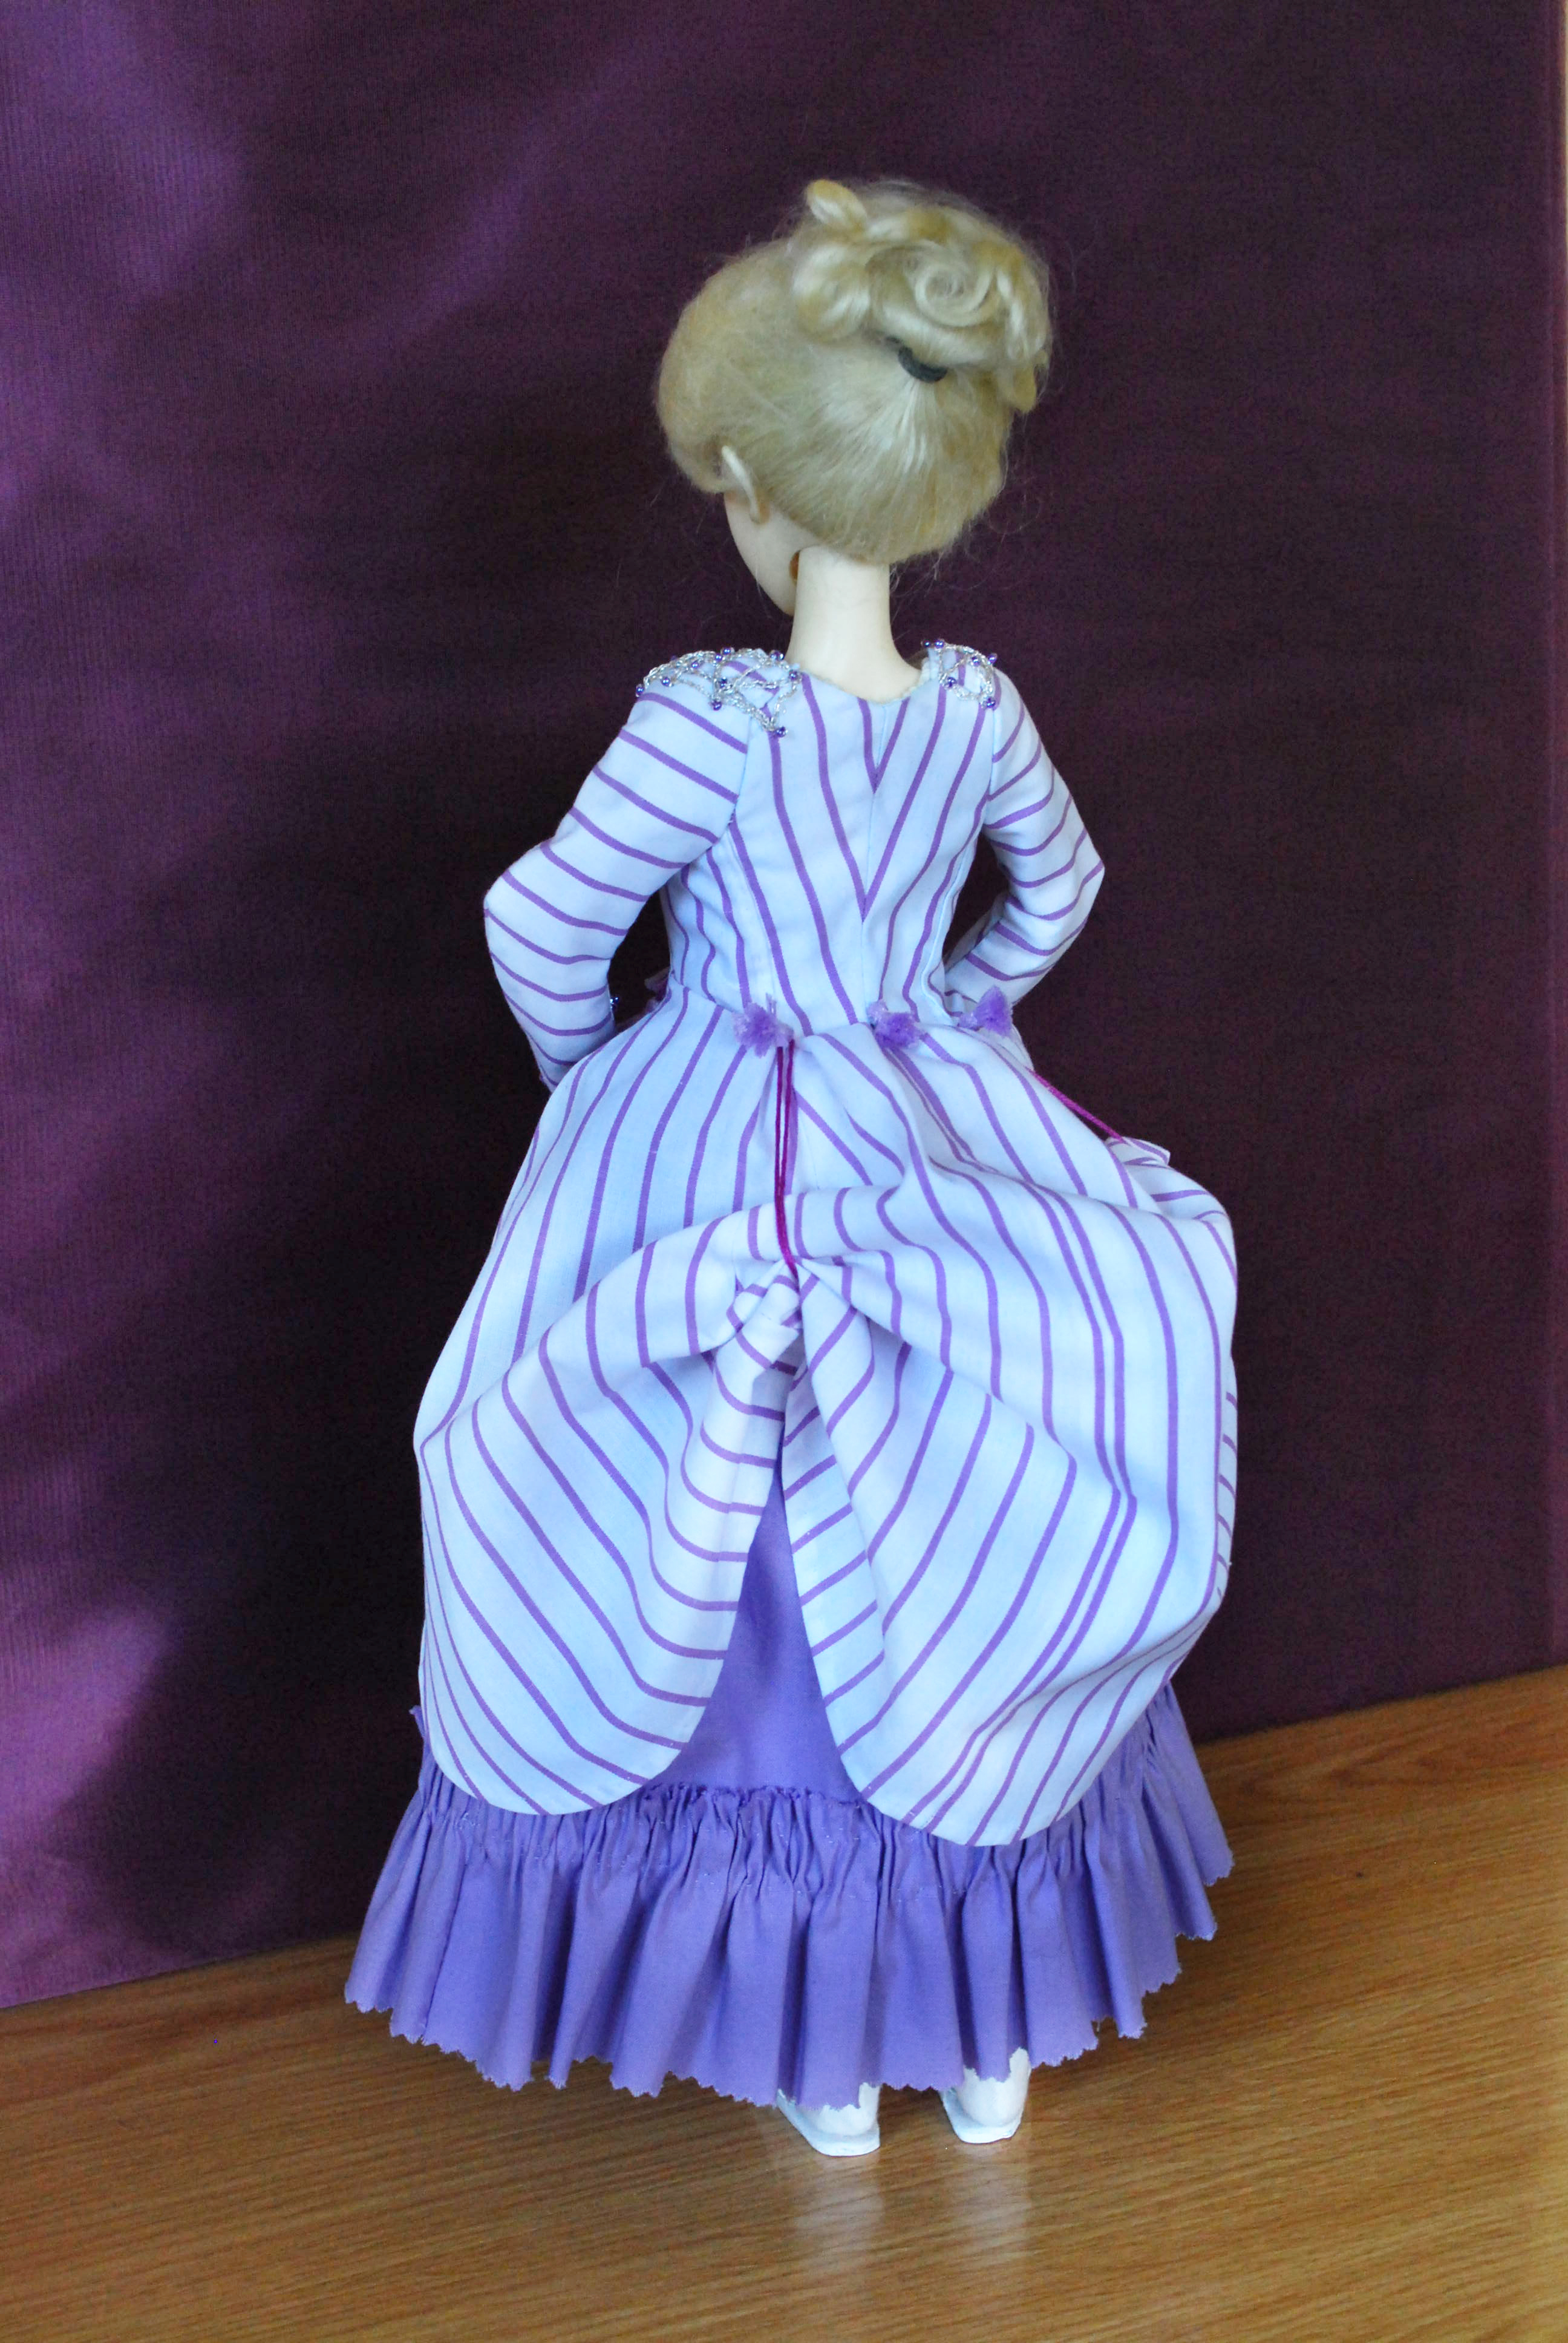
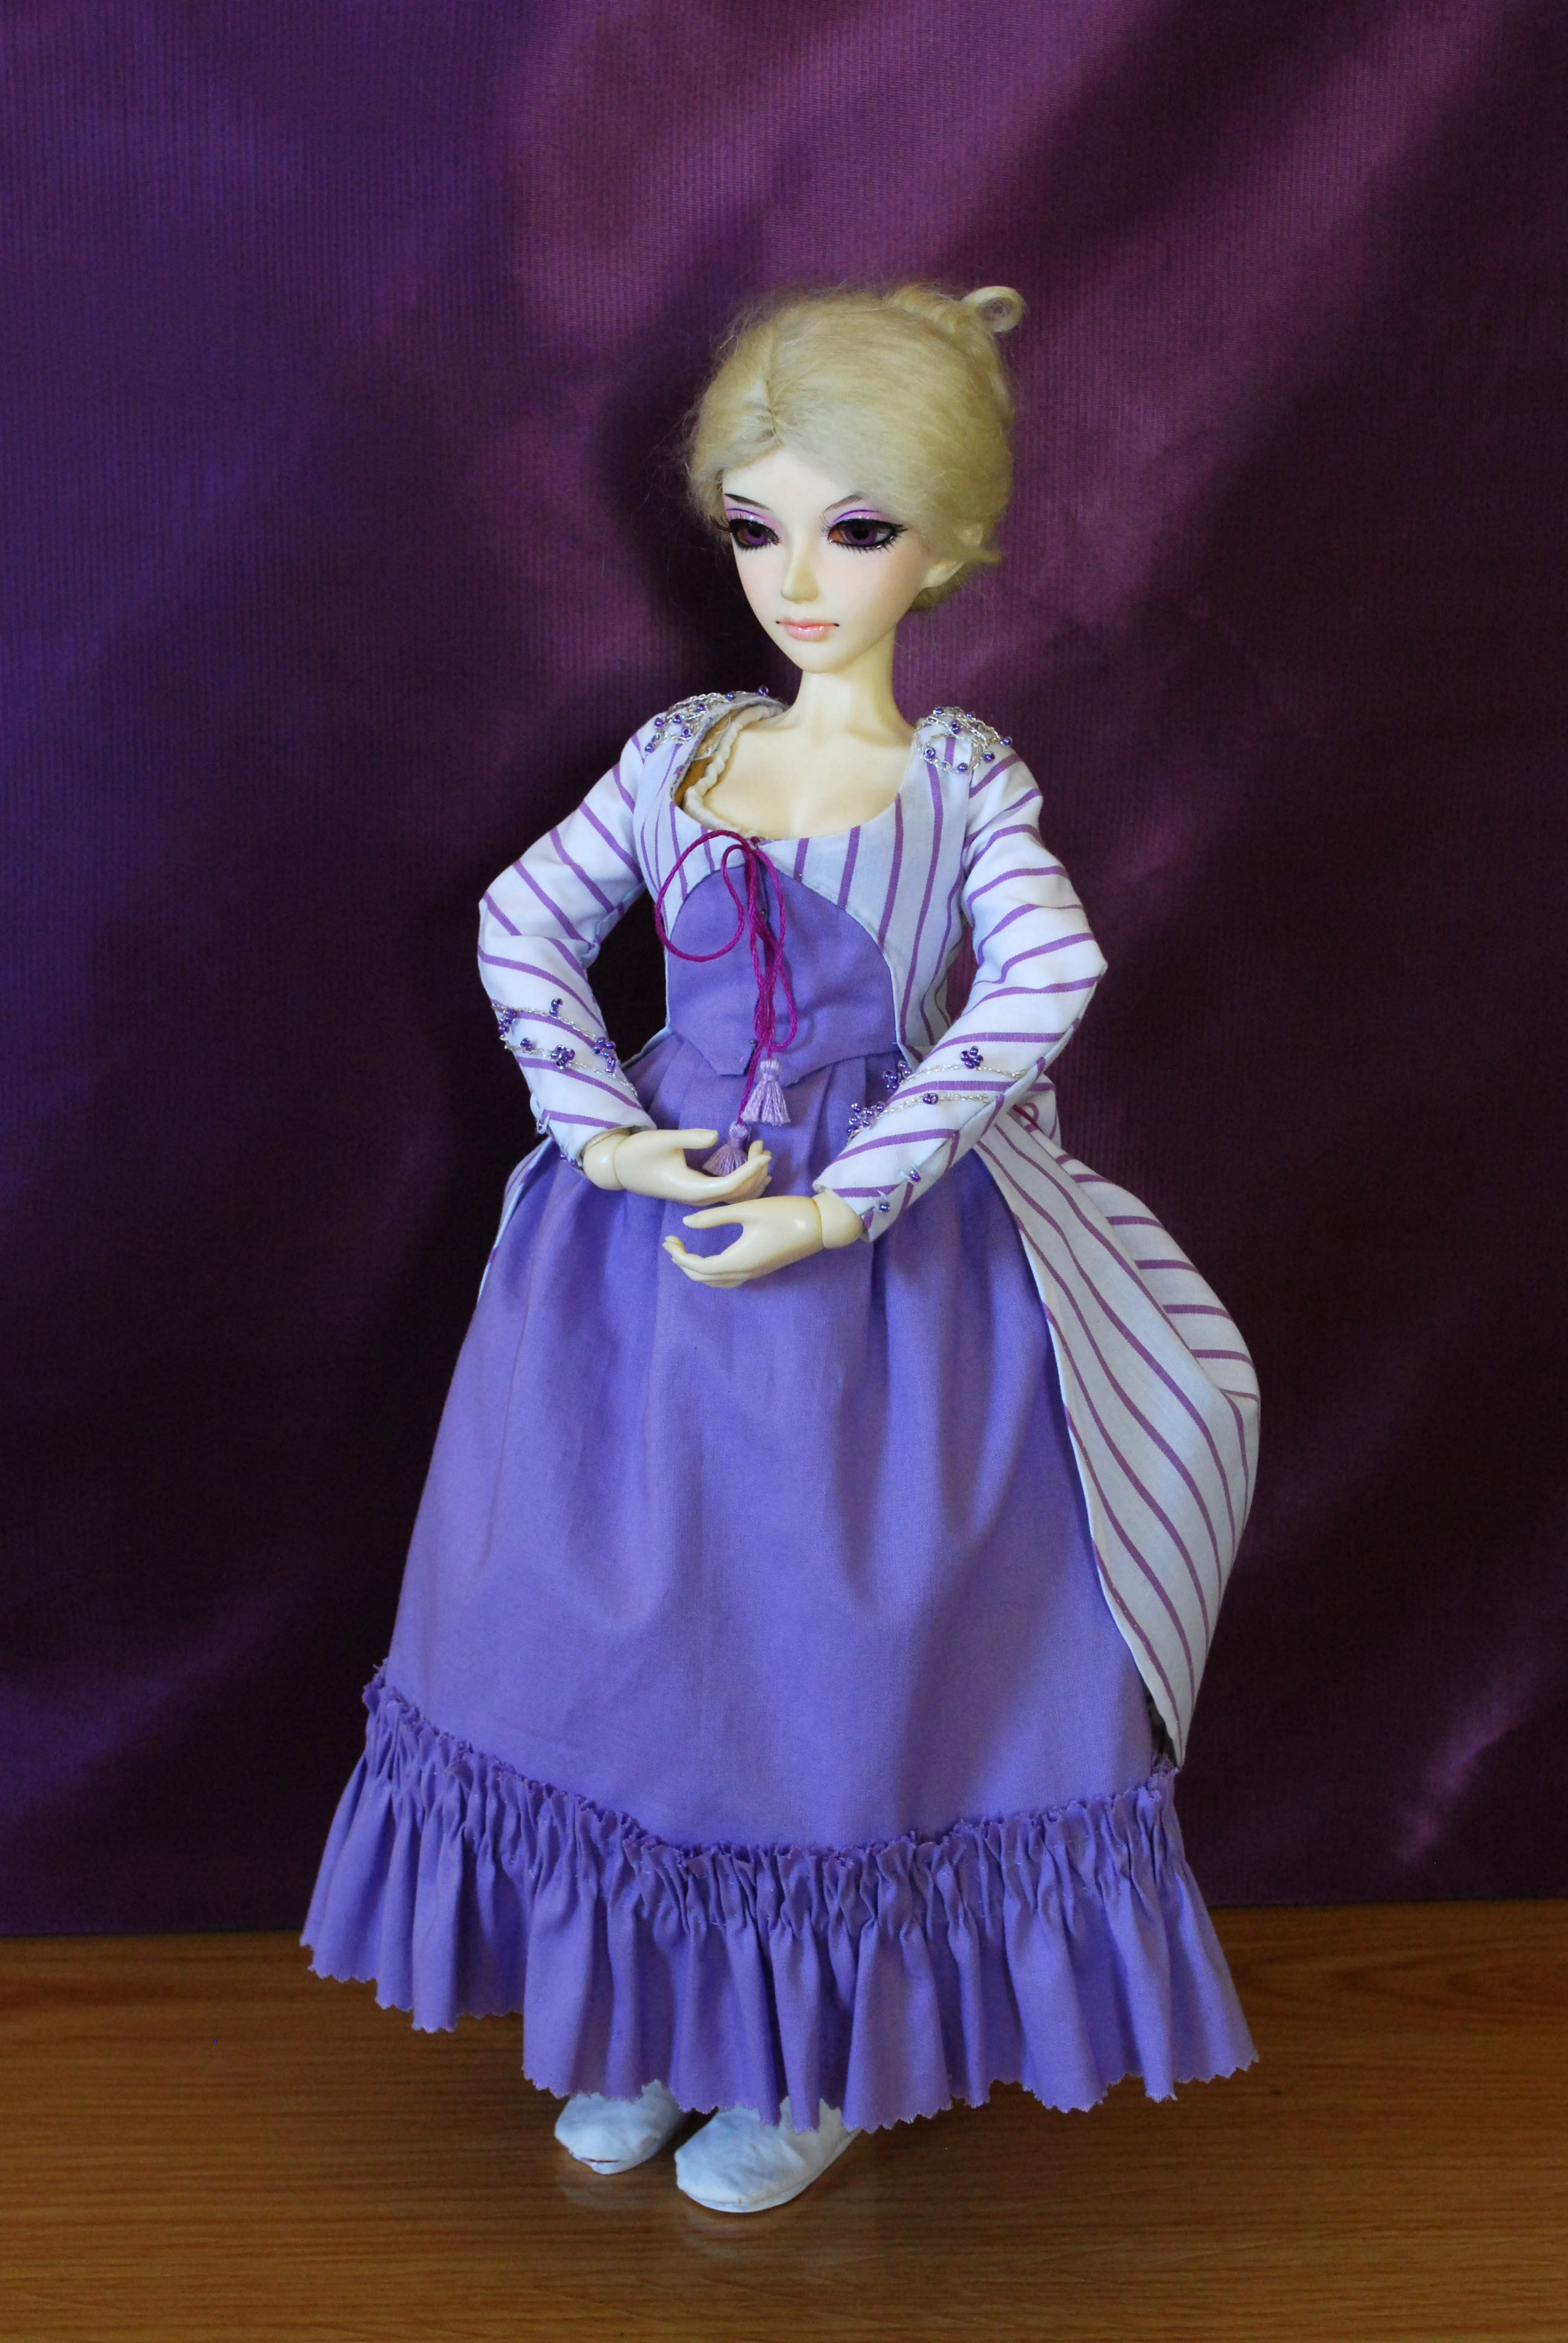
Finished polonaise

Flickr album (photos courtesy of Blanca Amores)

References used:

Books
• Moda. La coleccion del instituto de la moda de Kyoto. Varios. Ed. Taschen
• The cut of women’s clothes, 1600-1930. Nora Waugh. Ed. Faber and Faber
• Corsets and Crinolines. Nora Waugh. Ed. Taylor & Francis Ltd
• Seventeenth and Eighteenth-Century Fashion in Detail. Avril Hart, Susan North. Ed. V&A Publishing
• Patterns of fashion: v.1. Janet Arnold. Ed. Pan Macmillan

Extants
• IMATEX. Centre de documentacio i museo textil. (http://imatex.cdmt.es/)
o Jubon Ref:11531
o Cotilla Ref:11882
o Cotilla Ref:11883
o Cotilla Ref:11884
o Jubon Ref:11530
• Catalogo Museo del Traje CIPE. http://museodeltraje.mcu.es/
o Polonesa Inv. CE000592
o Polonesa Inv. MT000905

Websites
• Isis Wardrobe: polonaise pattern scan:  http://isiswardrobe.blogspot.com/2009/09/18th-century-curiousity.html
• Your Wardrobe Unlocked (subscription only):
– c.1775 Dress: The Bodice. Serena Dyer: http://yourwardrobeunlockd.com/component/content/article/412-c1775-dress-the-bodice
-Setting in 18th century sleeves. Katherine Caron-Creig: http://yourwardrobeunlockd.com/component/content/article/377-setting-in-18th-century-sleeves-by-katherine-caron-greig

¡Finished!

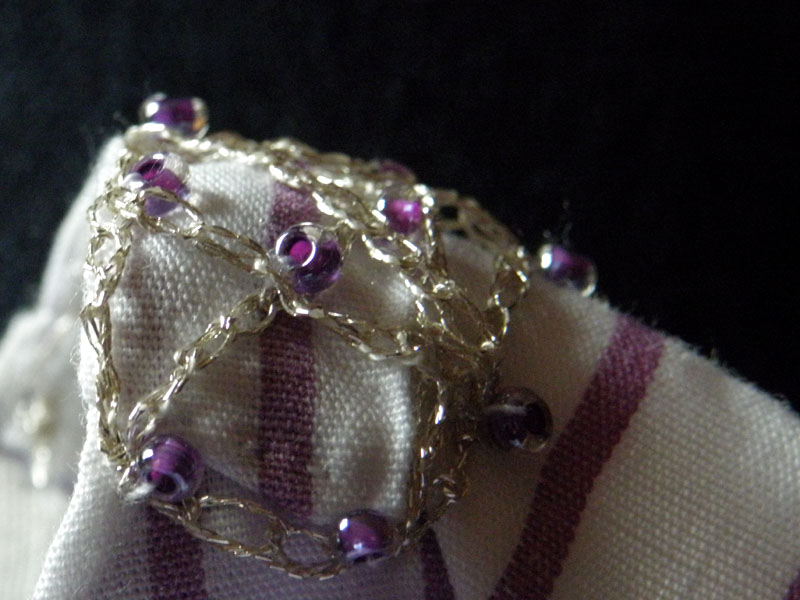
Shoulder decorations

I just finished yesterday night.

I finally was able to use pins to close the front of the polonaise, I’m really happy! 😀

The sleeves were easy to do and set when I finally decided to stop trying to adapt an existing pattern and draped them. I had to make them a little wider than I wanted so I could pass the hands, and I used beads and loops instead of buttons and buttonholes in the cuffs, so they looked part of the decorations.

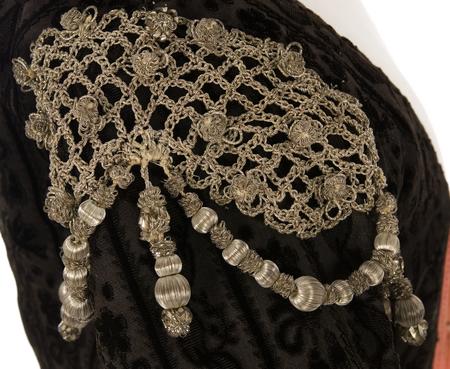
Ref. 11531d - CDMT

The decorations are little crocheted chains made with silver embroidery thread, with beads instead of the little crocheted flowers in the original. Obviously my design is not so complicated as the one I used for inspiration 🙂

Tomorrow I’m going to do the photos for the entry, I’ll post the better here and the rest in mi flickr. Now just wish me luck with the contest! 🙂

The beginning of the end

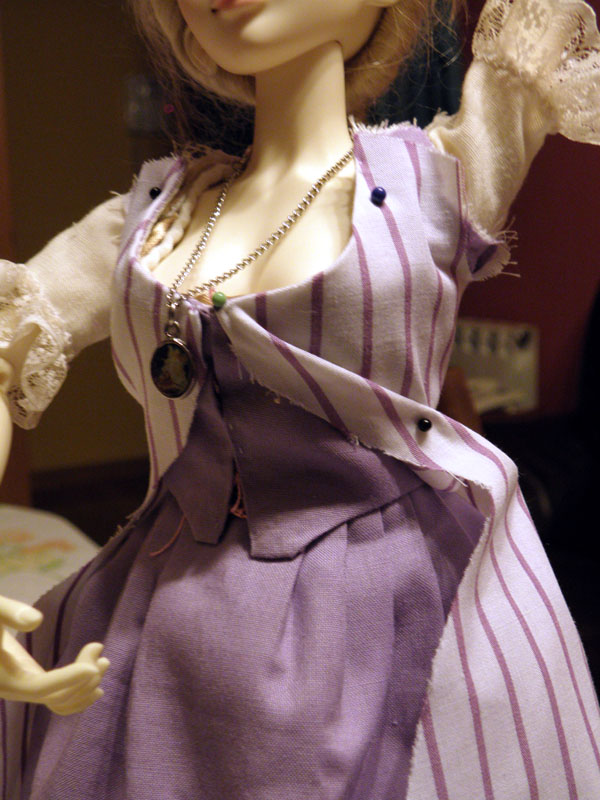
Front of the polonaise

Very little work left!

I’ve had a lot of problems with the front closure. I can’t use pins, so I tried hooks and  eyes; it didn’t work. Finally, after much thinking I did it the period way, but instead of ribbon, I used embroidery thread to tie it closed. It was easy and it looks a lot better 🙂 Lining wasn’t so problematic as when I try to bagline something, 18th century lining techniques were more «intuitive», and with them I didn’t have any problem figuring out how to do the sleeves, that are the next I’ll be working on.

Finally, I begin the polonaise

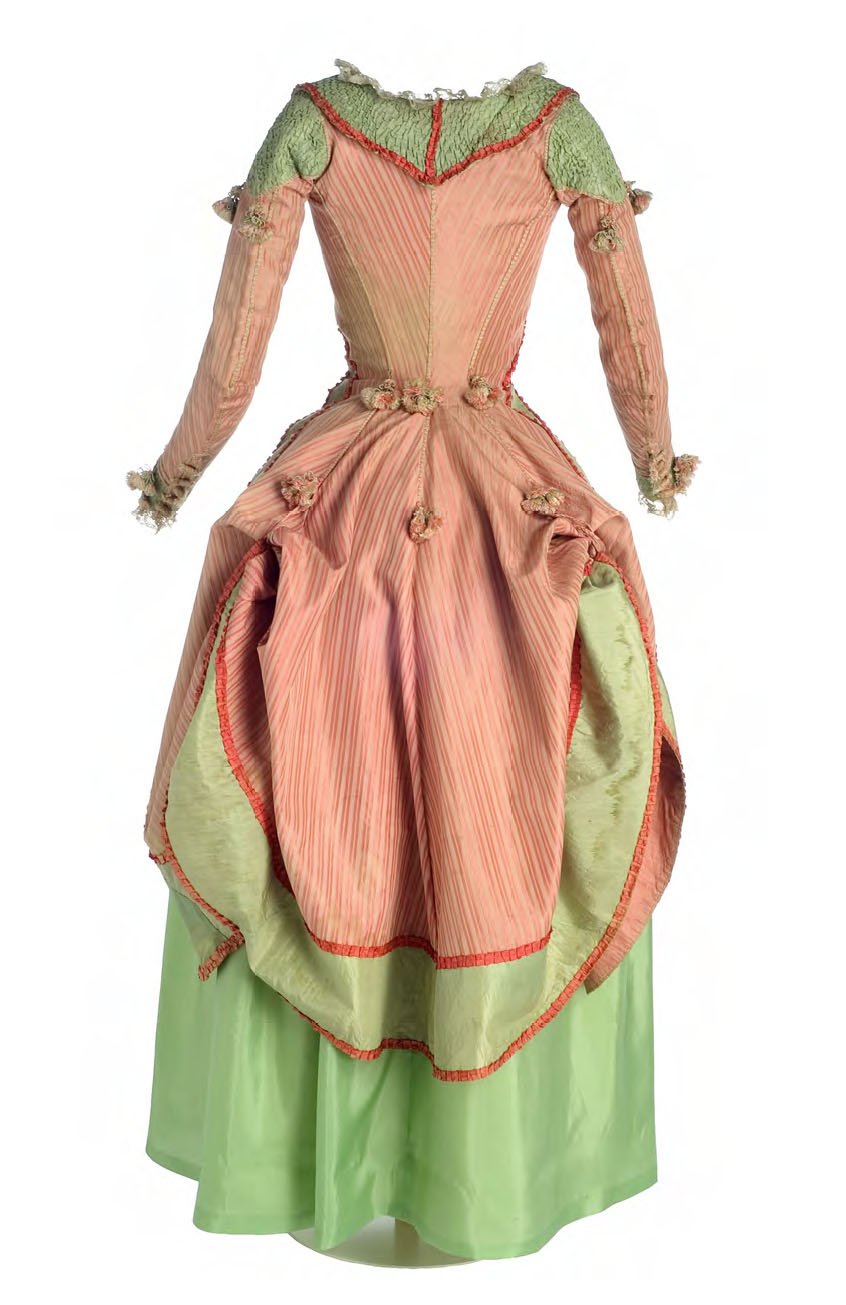
Museo del Traje Polonaise: Nº INV. MT000905

The stays are finished (tomorrow I’ll post photos of the lining on my flickr account), and I’ve begun working in the last piece: the polonaise. The photo on the left is my model for this, and it’s been difficult finding a pattern that resembles it, so I’ve done it myself. I first draped the lining, but I made a mistake and cut it without seam allowance, so I only could use it to make a pattern. Then I made a pattern in paper for the rest of the polonaise and tried it on the doll. It was perfect except for the lengt and now I only have the pattern for the sleeves left to do, so… back to work!

Only the lining left!

Pair of bodies

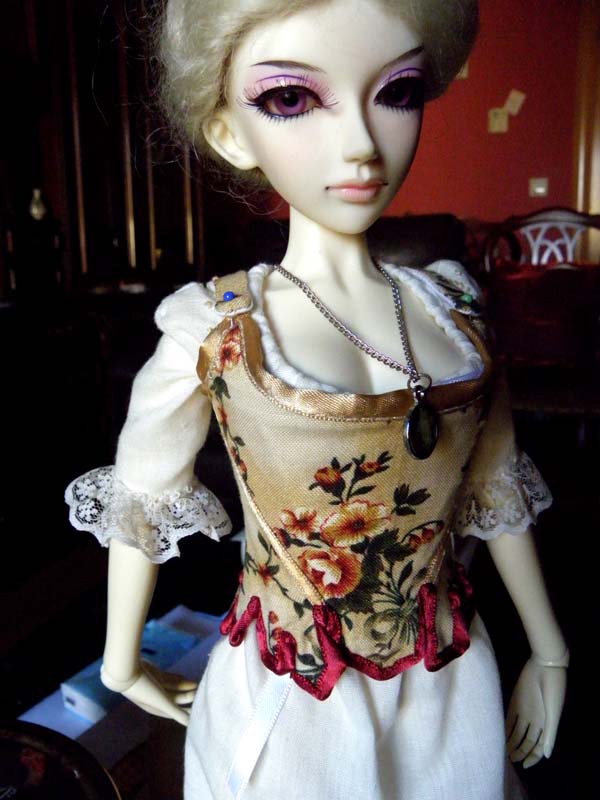
This is how the pair of bodies are going to look like!

The binding was more difficult than I thought, so I just finished it this morning. Thankfully, I still have the rest of December and all January to finish this project, so I spect to have it in time for the contest.

Pair of bodies

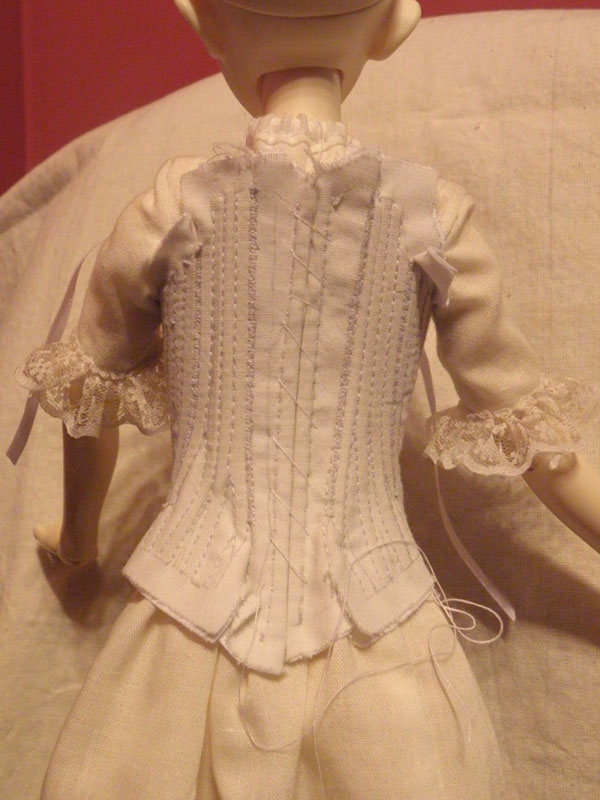
Pair of bodies, almost finished

Pair of bodies, almost finished

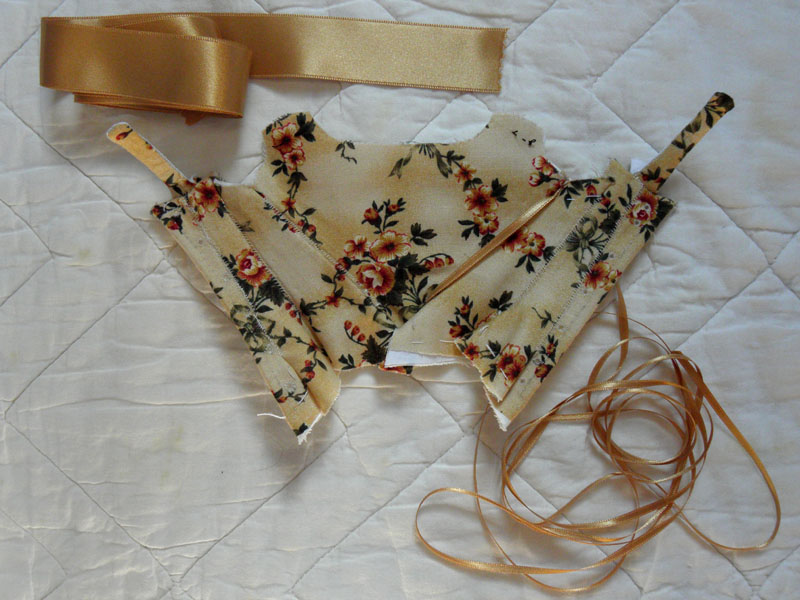
I have almost finished the definitive pair of bodies. I only have left binding, welting and sewing the lining.

I’ve made a lot of mistakes  with it, I should have changed the pattern so the four back pieces where only two, because I almost hadn’t had space for the lacing holes. Regardless of all, it looks really good! I hope to have it finished by the end of the month (not a lot of time to work on it), so I can begin with the bodice.

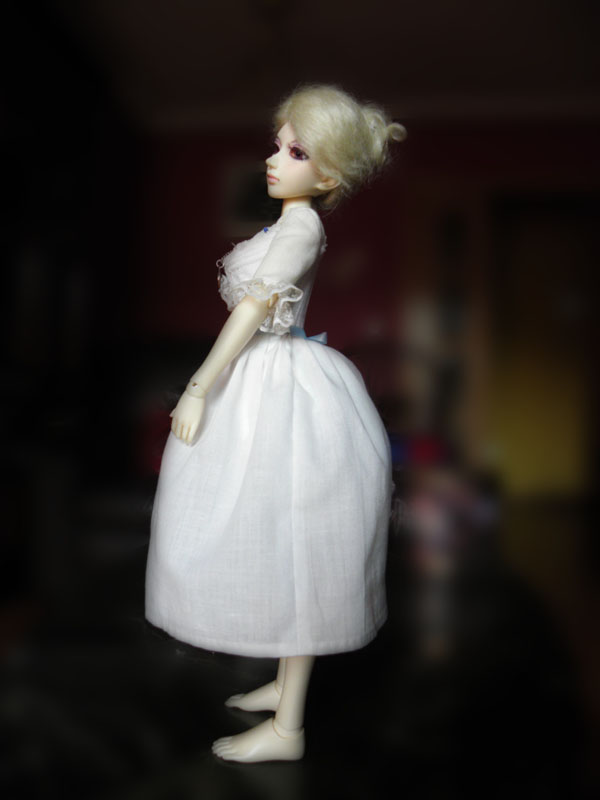
Petticoat finished


Petticoat

Petticoat


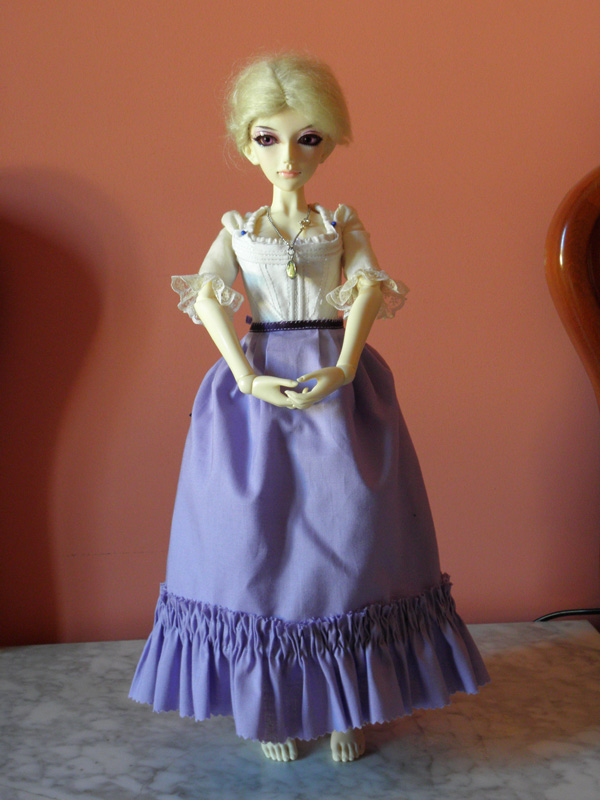
I just finished the petticoat. It gave me some problems, because I used the pattern for the underpetticoat, but I forgot that it was shorter. Thankfully, it has a flounce and it gives it the length I need.Now I’ll finish the stays before I continue with the bodice, so I can get a perfect fit.

I only have one concern: ¿would the false rump be able to support all the weight of the three layers?

DPP Update!

Underpetticoat

Underpetticoat

I finished the underpetticoat. I can’t believe it looks so good! I had to use powder blue ribbon for the front tie because I ran out of white, and the result is very nice.

In the detail photo you can see how I attached the ribbon to the underpetticoat. The fabric I used unravels like mad, but I didn’t want the extra bulk I’d have with a hem, so I cut it and whip stitched ribbon and fabric together. The detail pic doesn’t look very neat, but in  reality it looks better.

Detail

«Cul de France»

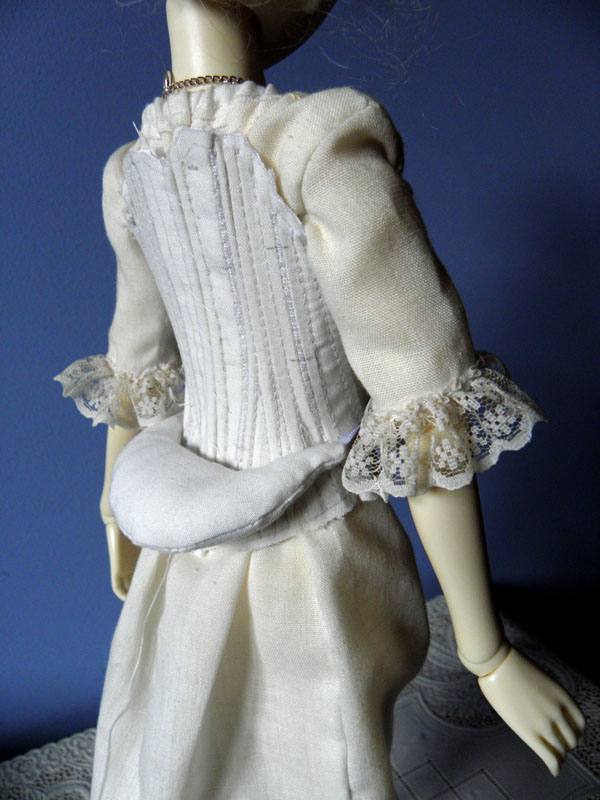
False rump

False rump

I had finished the two front panels of the definitive stays when I began to feel bored and decided to use the mock-up to continue working in the rest of the garment. I’ve already finished the false rump or «cul de France» (that name makes me giggle like a kid) and have well advanced the underpetticoat.
I’m using satin ribbon for the ties in the false rump and underpetticoat to reduce bulk.

I’ve also begun to give some thought to the decorations. I’m thinking about making some braided cords with silver embroidery thread and lilac beads I have in my stash for the shoulders.

Robe à la Polonaise – the stays I

Stays - 1st try

I’m beggining to hate sewing stays. Today I finally finished the mock-up, and tomorrow I’ll begin with the definitive stays.

I’ve used the instructions on Cherry Dawson website, but working only with two layers, so the fashion fabric doesn’t show the boning channels when finished.

I’ve been lucky and only had to adjust the two front pieces from the original pattern (they fit perfect at the bust, but the waist was a little big) and the placement of the boning channels.

More photos in my flickr 🙂